Transcript
APG Introduction
Good morning everyone and welcome to todays webinar, our eighth of 2022. If you’ve missed any of our series, which has been running for over two years now, you can view them all on-demand right here on you YouTube channel, or on our learning hub at www.proctorgroup.com.
You can also now register for our online members area, where you can access product information libraries, personalised CPD certification and our free online u-value and condensation risk calculation. As always, you can also request product samples, arrange follow up meeting to disucss the specifics of your project, or book one of our expending range of RIBA assessed CPD covering a range of topics. This can all be done either face to face with our team of experts across the UK or online.
For todays webinar we have a case study presented by our special guest, Frances Strachan-Friar of Studio East Architects. Since 2019, Frances and her husband have taken a hands-on approach to literally “self build” their own home, from planning to construction on-site.
After the presentation we’ll have our regular Q&A session, where Frances will be joining our panel of experts to answer your questions.
So I'll now pass over to Frances to begin the webinar.
Intro
Good morning, my names is Frances Strachan-Friar, and I'm a Perthshire-based architect working mainly in residential project and one-off private houses. From that background, designing and building my own home presented a perfect opportunity for a learning exercise exploring new construction methods, testing ideas, and learning new skills by taking a fully hands on approach on-site.
We started looking for a suitable site in 2019, with nothing specifc in mind beyond a rural site with few neighbouring buildings, and within easy commuting distance. Most importantly the site and location just had to feel “right”.
The plot at Charleston Farm already had planning permission in place for a 5 bedroom house, but this was submitted in 2005. Subsequently in 2015 the site was re-designated by SEPA as a flood risk area, being relatively close to the river Tay.
So in addition to changing of house type to the new design, our resubmitted application also had to provide flood risk assessments. This entailed demonstrating the proposed dwelling would sit as far as possible outwith the affected areas, and the constructions would be of a flood resistant type.
As the site sits within a designated flood risk area, the SEPA guidance states that the ground floor should be of flood resilient construction. Following our ground investigations, the structural engineer proposed a raft foundation which would help address the areas of poorer bearing pressure on the site.
This type of foundation also lends itself to CLT as the wall plate can be fixed directly to the slab and the frame erected relatively quickly without the need for blockwork sub walls. The recommendation from the Flood Risk Assessment for the finished floor level was 600mm above the adjacent 1 in 200 year flood risk level plus the 35% climate change levy.
This meant our floor level was almost 1m above the existing ground level. Having the FRA done early meant that we could address this aspect and work the detailing into the project at an early stage.
Fortunately this part of the process went smoothly, and the new planning approval was granted in May of 2020.
Design ApproachThe design was very site specific and aimed to sit well with the neighbouring properties which were built in 2016 and 2019. Both of the homes are bespoke architect-designed properties and the overall aesthetic of the development is in-keeping with the rural vernacular.
We also wanted to connect to the previous use of the site as a dairy farm and the simple pitched roof ‘barn’ style of the house with metal clad roofs is an ode to the old byres that once stood on the site. We were keen to use locally sourced materials wherever possible, and the larch cladding was supplied by the sawmill at Knapp which is around 5 miles away.
This local agricultural context of the site provided a wealth of inspiration, and the simple forms of traditional farm steadings, byres, sheds, barns and cottages never fail to create interesting spaces. The simple geometry of these structures also helps frame different views of and from the site, and the main spaces are focussed on the garden side of the plan which allows passive solar gain and captures the views across the fields.
Managing this passive solar gain was an important consideration on this project, with aim to cut the overall energy consumption of the house as far as possible. At the time of designing the house I had started to become more interested in passive house and the technical aspects of designing to passive house standard.
Having never worked on a passive house before, I decided to use the process of designing and building my own house to explore the possibilities of low energy design and working with the passive house principles.
While we ultimately decided not to go down the route of a fully passive house certified build, we aimed to achieve as close to the passive house standard as we could and work to continuously identify areas where improvements may be required as we worked through the build.
Passive House PrinciplesThe core principle of passive house design is to minimise the heat loss from the insulated envelope by combining high levels of thermal insulation with low levels of air leakage. The continuity of the insulation is also important, as is high performance glazing. The windows here are triple glazed, and the principle rooms are kept south facing to maximise the solar gains into the property.
To maximise the efficiency of the thermal envelope, I chose to use a cross laminated timber or CLT structure. These structural panels, made up of multiple layers of machined timber, are fabricated offsite then craned into position when they arrive on site, making for a very quick construction process.
Being timber, the CLT panels are a more natural product than a foam based structural insulated panel, and for me, present a tactile and aesthetically pleasing internal surface, which reduces the need for plasterboard drylining.
Cross laminated timber and other mass timber construction systems also have a variety of benefits in sustainable architecture, not least because the trees used capture and store carbon, which is then “locked up” in the timber construction for many years.
The engineered nature of the panels also means they can replace a lot of components that may otherwise require concrete or steel to be used. The lighter weight of the superstructure can also reduce the amount of high environmental impact concrete require for foundations, as well as the site preparation associated with this.
Cross laminate panels are more commonly used in mainland Europe than in the UK, and in fact this project was the first time our Spanish CLT fabricator had worked in the UK.
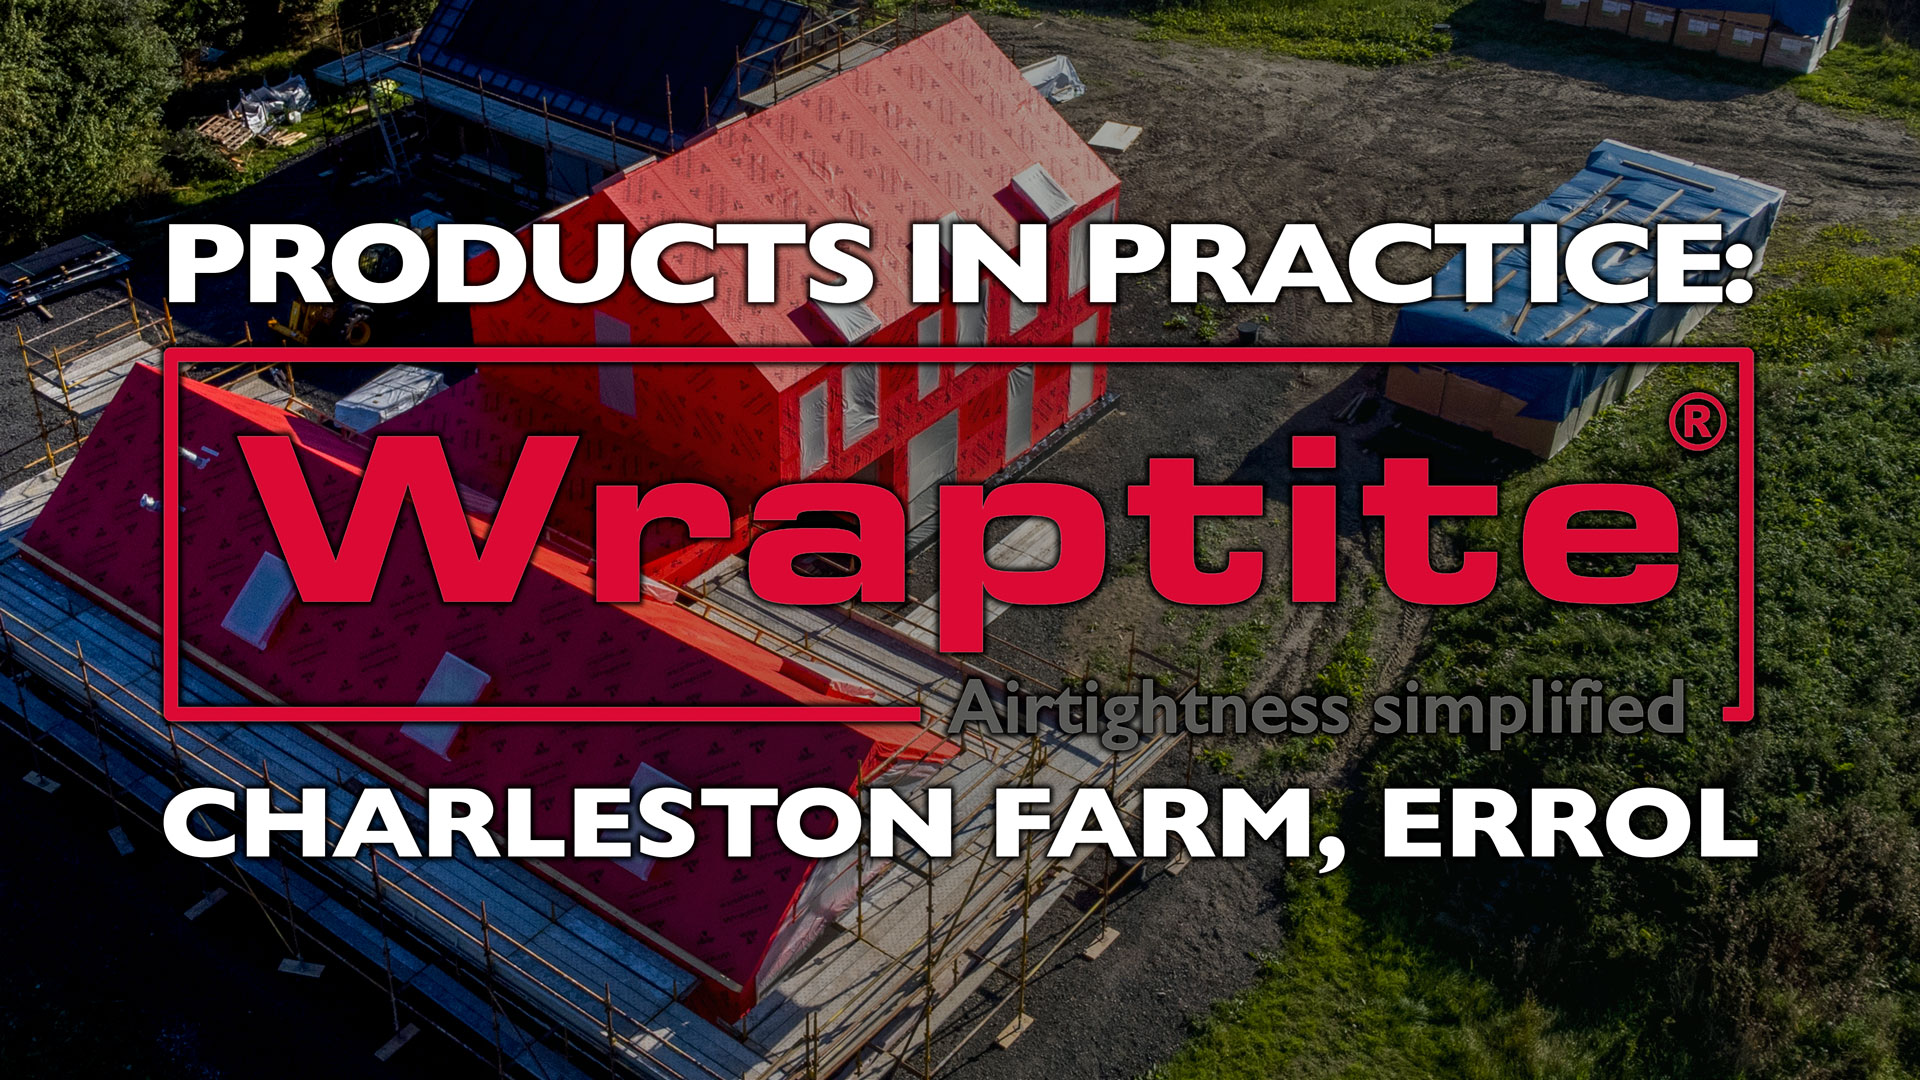
Onto the CLT base, we installed applied the Wraptite airtight and vapour permeable membrane directly onto the wood surface of the panels. By wrapping the building entirely in this membrane we were able to quickly and easily achieve a continuous airtight seal around the heated envelope, as very few service penetration were required in the airtight layer.
This simplicity helped us achieve a final pressure test result of 0.681 metres cubed per metre squared per hour at 50 pascals. Considering we hadn’t installed and air barrier before we were pretty happy with that result.
Like most of the manufacturers whose products we installed, Proctors were great in providing help and advice through the process. We had a toolbox talk from the team prior to starting, and the process was pretty smooth and painless.
Over the barrier membrane was fitted wood fibre insulation, again keeping to natural materials where we could. We used 260mm on the walls, and 280mm on the roof to achieve a 0.11 u-value in the walls, and 0.10-0.12 across the roof areas. This was fitted using thermally broken fixings and because the CLT panels form the structural support, the insulation layer is almost completely unbroken around the building.
Having this permeable insulation, over the permeable Wraptite air barrier, over a relatively vapour resistant inner panel gives the building good hygrothermal characteristics. With the outer layers allowing moisture to escape evenly and ensure a healthy indoor environment, while the inner layer slows down the ingress of moisture into the structure limited the scope for condensation risks to arise.
CLT structures with high levels of external insulation like this are very good in this respect, as the more vapour resistant CLT panels are kept warm by the insulation layer, with temperature remaining well above the dew point.
Indoor air quality is further improved by the use of a mechanical ventilation system with heat recovery, which uses heat from the exhaust airflow to pre-warm incoming fresh air. This system ensures sufficient air changes are achieved through the living spaces without dramatically affecting the energy performance.
Our focus on a high performance, fabric first approach to energy performance meant we achieved a 106A SAP rating, with dwelling emission rate of -3.99 against a target emission rate of 20.79.
This negative emission rate is a product of the high efficiency of the building envelope combined with the extensive use of mass timber and wood fibre throughout the building. We were extremely happy in being able to achieve such a good result having undertake so much of the installation ourselves, especially having been learning the skills needed as we progressed the build.
Build ProcessWe decided from the outset of the project that we wanted the build to be a learning process, not just in terms of the design approaches taken and technologies specified, but also to take the opportunity to be far more hands on with the construction itself than is usually possible for an architect.
While there are inevitably some tasks, such as electrical work, where a certified professional is required, and others such as foundations and the erection of the CLT panels, which necessitate the use of heavy machinery, our aim was to attempt as far as possible to truly “self build” the house.
This gave us a bit more control and flexibility over the costs, in that we could prioritise processes that required a faster turnaround and take on less time critical processed ourselves. Inevitably tasks we undertook ourselves were a lot slower, not least as all the work had to be fitted into the evenings and weekends, around full time working.
Learning all the necessary skills also took time, and in hindsight we didn't always approach tasks in the correct way, and certainly not in the most efficient way. This is probably one of the main time saving associated with experienced contractors. The knowledge of the quickest most efficient way to proceed with a job isn’t something that can be gained quickly, however hard oyu try.
Fortunately though because we were doing the work for ourselves, that allowed for plenty of time to be taken to ensure we got the right result, even if the route there wasn’t optimal. Manufacturers and suppliers generally proved good resources to explain the process, and YouTube is a fantastic resource for informal training. 99 percent of the issues we came across we were able to find someone who had not just had the same issue, but had made a video of how to address it.
This learning process has fed back into my approach to design in a few ways. My approach has always been to aim for a site specifc design, and kept as straightforward as possible as simplicity always works best.
Being able to apply the detail design to practical situations and adjust and amend them to reflect the skills we gained along the way was a great opportunity to gain valuable insight into the build process. This appreciate of the process is something that will prove useful in future discussion with contractors.
I think having good communication with contractors is key to ensuring things can be built in the best possible way. The way an Architect has drawn something may not always be the best way to build so there has to be a bit of give and take. As long as design decisions are openly discussed on site and both parties are willing to learn from each other, the end result will be something to be proud of.
Being the main contractor on our project had lots of benefits however in some cases, this feedback can play an important role in providing a second opinion or resolving problems at an early before they arise on site. So while on this project it was good to have the freedom to take decisions and understand directly the implication of the those decisions, this lack of feedback occasionally impacted on the cost, time and practicalities of the build.
As is the case with more or less every self build project, cost was an important concern here. While some cost overruns are inevitable as a project progresses, in this case the wider economic situation since 2020 has increased costs across the whole build by 20-30%, which has been difficult to accommodate.
For the most part we were able to do this by value engineering some items and taking on more of the work ourselves but doing this increased the likelihood of running into additional unforeseen costs.
To help fund the build, we opted for a self-build mortgage. Due to the nature of the CLT frame & offsite construction, this meant our choice of lenders was quite limited. We used a self-build mortgage broker to set up our mortgage and once the lender was agreed, the process was relatively straightforward.
The stage release milestones were agreed with the lender at the start and we have two inspections once we reach each stage by separate surveyors along with an inspection by a professional consultant, who in this case is another architect.
Under the ARB/RIBA guidance, I cannot self-certify my own project as this would be a conflict of interest. With a self-build mortgage, the interest rates are slightly higher so once we have completed the build, we will be able to move to a standard mortgage which also serves as good motivation to keep things moving forward.
Tools in particular were an area where we didn’t expect costs to be as high as they were or didn't fully appreciate the items that would be required. Because we only had a very basic selection of tools at the start we had to spend quite a bit to make sure we had the right tools to complete a variety of tasks correctly. Wherever possible, we tried to buy second-hand items and plan to sell on some once we’ve finished.
In other cases, undertaking work ourselves resulted in us undertaking tasks that were just simply awkward and where the satisfaction of completing the job didn't outweigh the problems along the way.
A particularly good example of this was installing the large corrugated metal sheet roofing and wall panels. While these were an important part of both the weather protection and the overall aesthetic of the house, the exposed nature of the site made manually handling these panels in windy conditions particularly tricky.
Cutting and shaping the corrugated panels correctly and ensuring all the trims, flashings and other accessories required were fitting and aligned properly was also an area where our learning curve as first time installers was a little steeper than we would have liked.
On the other hand, plasterboarding, plumbing and scaffolding were some of the more fun tasks we undertook, where the learning and satisfaction outweighed the hard work.
Points To Expand If PossibleFlood protection: measures incorporated into design / design changes As the site sits within a designated flood risk area, the SEPA guidance states that the ground floor should be of flood resilient construction. Following our ground investigations, the structural engineer proposed a raft foundation which would help address the areas of poorer bearing pressure on the site. This type of foundation also lends itself to CLT as the wall plate can be fixed directly to the slab and the frame erected relatively quickly without the need for blockwork sub walls. The recommendation from the Flood Risk Assessment for the finished floor level was 600mm above the adjacent 1 in 200 year flood risk level plus the 35% climate change levy. This meant our floor level was almost 1m above the existing ground level. Having the FRA done early meant that we could address this aspect and work the detailing into the project at an early stage.
Any particular reasons for favourite tasksAny mortgage/insurance implications of the DIY build process and/or CLT structure To help fund the build, we opted for a self-build mortgage. Due to the nature of the CLT frame & offsite construction, this meant our choice of lenders was quite limited. We used a self-build mortgage broker to set up our mortgage and once the lender was agreed, the process was relatively straightforward. The stage release miletsones were agreed with the lender at the start and we have two inspections once we reach each stage by separate surveyors along with an inspection by a professional consultant, who in this case is another architect. Under the ARB/RIBA guidance, I cannot self-certify my own project as this would be a conflict of interest. With a self-build mortgage, the interest rates are slightly higher so once we have completed the build, we will be able to move to a standard mortgage which also serves as good motivation to keep things mvoing forward.
Conclusions and Closing StatementOverall the project has been a fantastic experience and has really allowed me to gain in-depth practical site experience that is invaluable to my professional practice. I think the feeling of accomplishment and pride in our work will be something that we can look back on and the knowledge that we physically built our own home will bring a great sense of acheivement and satisfaction. We are continuing to work on the house and hope to be able to move in before the end of the year!
This Webinar Includes
- Case Study of a unique self built home
- Use of cross laminated timber structure
- Design & build for low air leakage rates
- Low carbon design and systems
- Learning processes of hands-on design and construction